
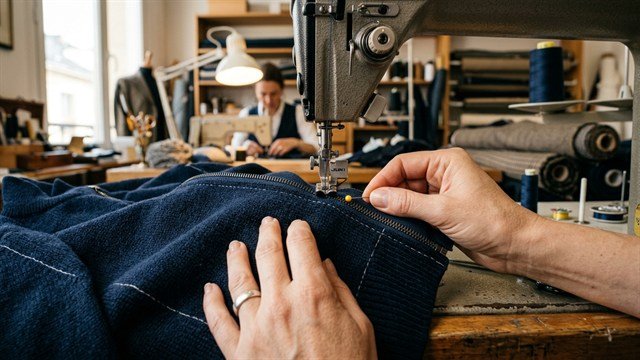
Sewing a sporty track jacket, zip hoodie, or bomber jacket with a stand collar reaches its pivotal milestone when installing the front zipper closure. However, sewing an open-ended zipper into stretchy knit fabric (sweatshirt fleece, French terry, or jersey) is notorious for warping: edges ripple like waves, waistband and collar seams misalign, and teeth buckle under machine pressure. In this comprehensive masterclass, we explore the professional tailoring technique for inserting an open-ended zipper with flawless symmetry and clean-finished edges.
- Essential Tools & Supplies
- Step 1. Edge Preparation & Knit Stabilization
- Step 2. Symmetry Marking Across Both Front Panels
- Step 3. Basting the First Zipper Tape
- Step 4. Transferring Precise Alignment Marks
- Step 5. Machine Stitching with Zipper Presser Foot
- Step 6. Clean-Finishing Collar and Waistband Ends
- Step 7. Topstitching and Final Pressing (Ironing)
- Pro Tailor Insights: Preventing Wavy Rippled Edges
- Common Mistakes to Avoid
Essential Tools & Supplies
Before you begin, gather the following supplies:
- Separating open-end zipper — molded plastic (vislon / tractor #5) or coil zipper of the required length;
- Fusible knit stay tape (Formband) — 10–15 mm wide lightweight fusible tape reinforced with a chainstitch line;
- Sewing machine fitted with a narrow zipper foot or single-toe foot;
- Specialized knit needles — Stretch or Jersey needles size 75/11 to 90/14;
- Fine sewing pins, hand sewing needle, and basting thread in contrasting color;
- Tailor's chalk or water-soluble fabric marker, clear acrylic ruler;
- Steam iron and pressing cloth.
Step 1. Edge Preparation & Knit Stabilization
The primary reason for rippled zipper edges in knitwear is fabric stretching under the machine presser foot. To maintain a crisp, stable edge, fuse stay tape along the front opening seam allowances on the wrong side of both front panels, running from the top of the stand collar down to the bottom edge of the waistband.
Step 2. Symmetry Marking Across Both Front Panels
Place left and right front panels right sides together. Mark critical horizontal intersection points using chalk or tailor clips: waistband seam, kangaroo pocket openings, collar neckline seam, and the upper fold of the stand collar.
Step 3. Basting the First Zipper Tape
Unzip the zipper. Align the left tape face down onto the right side of the left front panel, teeth facing inward. Pin perpendicularly and hand-baste with 7–10 mm stitches. Never stretch the knit fabric; keep the tape taut and allow the knit to rest naturally with slight ease.
Step 4. Transferring Precise Alignment Marks
Zip up the zipper. Use tailor's chalk to mark every seam level directly onto the opposing unstitched zipper tape. Unzip, pin the second tape to the right front panel matching all marks, baste, and zip up again to verify perfect horizontal alignment.
Step 5. Machine Stitching with Zipper Presser Foot
Set stitch length to 3.0–3.5 mm. Stitch 2–3 mm away from the zipper teeth using your zipper foot. When approaching the slider, leave the needle down in the fabric, raise the foot, slide the slider past the needle, lower the foot, and continue stitching smoothly.
Step 6. Clean-Finishing Collar and Waistband Ends
Fold upper tape extensions at a 45-degree angle into the seam allowance inside the collar facing. Sandwich the zipper end neatly inside the folded waistband at the bottom for a clean, irritation-free finish.
Step 7. Topstitching and Final Pressing (Ironing)
Turn front edges right side out, roll the seam slightly, and press gently through a cloth. Topstitch 5–7 mm from the teeth to secure internal seam allowances and prevent fabric from snagging in the slider.
Reduce presser foot pressure when topstitching knits, or employ an integrated walking foot. This prevents uneven drag and ensures a ripple-free finish.
Pro Tailor Insights: Preventing Wavy Rippled Edges
- Always stabilize seam allowances with chainstitch-reinforced knit tape;
- Keep zipper tape under mild tension while allowing the knit fabric to micro-ease;
- Press using vertical up-and-down stamping motions rather than sliding the hot iron.
Common Mistakes to Avoid
- Skipping hand basting — pins alone shift under machine feed dogs;
- Using standard universal needles that cut knit fibers and create runs;
- Stitching too close to zipper teeth, causing slider jams.
Sew Track Jackets with Precision Patterns!
Discover professional digital patterns for zip hoodies, track jackets, and athletic apparel at Vykroyka.
Explore Pattern Catalog
Apparel Industry Hub in Telegram
Community of garment manufacturers, tailors and designers. Daily fresh workshop vacancies, verified factories database and direct contacts.





