
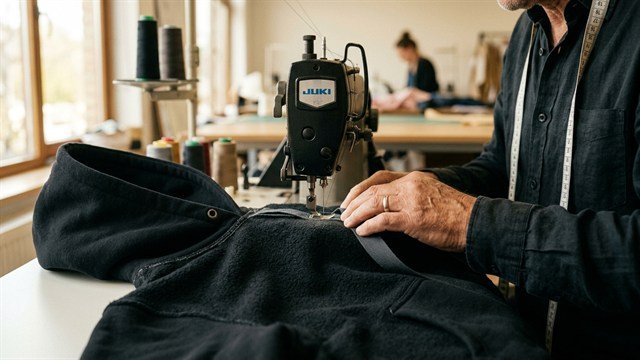
An oversized zip-up hoodie featuring kangaroo pockets and a generous lined hood is an undisputed staple in modern streetwear. Crafting this garment from heavy cotton fleece or French terry can feel challenging because of bulky seams, zipper installation, and hood construction. In this masterclass, we take you through each step of building a high-end zip hoodie from fabric preparation to rib knit cuffs.
Subscribe to our official YouTube channel for more practical sewing guides, garment breakdowns, and tailoring tips!
- Required Materials and Tools
- Step 1. Fabric Preparation & Nap Direction
- Step 2. Assembling Kangaroo Pockets
- Step 3. Stabilizing Shoulder Seams
- Step 4. Flat Sleeve Insertion & Side Seams
- Step 5. Double Hood Assembly & Eyelets
- Step 6. Attaching the Hood & Neck Seam Binding
- Step 7. Installing the Separating Zipper
- Step 8. Attaching Ribbed Cuffs and Hem Band
- Tailor's Pro Advice
Required Materials and Tools
- Main Fabric — 3-end French terry or brushed fleece (1.6 to 2.2 m);
- Rib Knit — heavy rib or kashkorse (0.4–0.5 m) for cuffs and waistband;
- Hood Lining — lightweight cotton single jersey (0.5 m);
- Separating Zipper — open-end zipper (65–75 cm);
- Hardware — 2 metal eyelets (8–10 mm), drawstring cord with metal aglets;
- Sewing Gear — 4-thread serger, domestic sewing machine with stretch needles (#80–90).
Step 1. Fabric Preparation & Nap Direction
Pre-wash or thoroughly steam your fleece fabric before cutting, as heavy cotton knit can shrink up to 7%. Keep the nap running downward consistently on all cut pieces.
Step 2. Assembling Kangaroo Pockets
Finish pocket entry edges with ribbing or fold-over hems. Press seam allowances 1 cm inward. Align pockets on front bodice pieces, baste, and edge-stitch with reinforcement bartacks at openings.
Step 3. Stabilizing Shoulder Seams
To support the weight of the lined hood, insert clear elastic or stay tape into shoulder seams before serging.
Step 4. Flat Sleeve Insertion & Side Seams
Attach sleeves flat into open armholes, then serge from sleeve cuffs down through the side seams in one continuous pass.
Step 5. Double Hood Assembly & Eyelets
Stitch outer hood and jersey lining. Reinforce eyelet locations with fusible interfacing and insert metal grommets. Stitch hood to lining along front edge, turn, press, and topstitch a 2.5 cm drawstring casing.
Step 6. Attaching the Hood & Neck Seam Binding
Pin hood into the neckline, serge, and cover back neck seam allowances with cotton twill tape for a clean, irritation-free finish.
Step 7. Installing the Separating Zipper
Interface front edges with fusible stay tape. Align zipper teeth, mark pocket seams across both zipper tapes, and stitch cleanly using a zipper foot.
Step 8. Attaching Ribbed Cuffs and Hem Band
Assemble rib knit cuffs and waistband, stretch evenly while serging to garment edges, and press with steam.
Sew trending oversized hoodies with precision patterns!
Discover digital PDF patterns for men, women, and kids with engineered oversized proportions in the Vykroyka collection.
Browse Pattern Catalog
Apparel Industry Hub in Telegram
Community of garment manufacturers, tailors and designers. Daily fresh workshop vacancies, verified factories database and direct contacts.





