
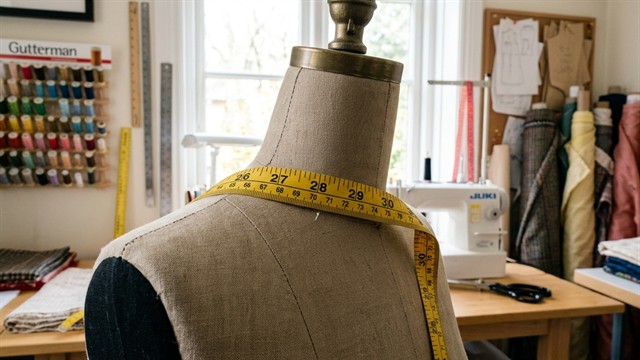
Accuracy in taking measurements is the basis for the perfect fit of any garment. Even the most accurate electronic pattern will not give a good result if the measurements are taken with errors or without taking into account the anatomical features of the figure. In this practical guide, we have compiled a detailed table of basic and additional measurements, rules for preparing for measurements, as well as an analysis of the most common mistakes made by beginners and experienced craftswomen.
Contents of the article
Main rules and preparation for taking measurements
To ensure that the data is as accurate as possible, follow the basic measurement regulations:
- Posture: The person being measured should stand naturally, without drawing in the stomach or straightening the shoulders artificially.
- Underwear: Measurements are taken strictly in the underwear (or similar in shape) that is planned to be worn under the finished product (especially for bras with a push-up effect or shapewear).
- Fixing tape: A thin adjustable elastic band or string must be tied around the waist strictly horizontally - it serves as a guide for all vertical and balance measurements.
- Tape: The tape should fit snugly to the body, but not tighten the soft tissue.
Complete table of measurements for sewing women's clothing
The table shows key measurements, their standard designations and guidelines for correctly holding a measuring tape.
| Designation | Name measures | How to shoot correctly |
|---|---|---|
| POG | Chest girth | Along the most prominent points of the chest, through the armpits and the convexity of the shoulder blades. |
| POT | Waist circumference | Strictly according to the adjusting elastic band at the narrowest point of the waist while breathing calmly. |
| PSU (POB) | Hip girth | Horizontally along the most protruding points of the buttocks, taking into account the protrusion of the abdomen. |
| SHG | Chest width | Horizontally above the base of the mammary glands between the anterior corners of the armpits. |
| ShS | Back width | Horizontally along the shoulder blades between the posterior corners of the armpits. |
| LTO | Waist back length | From the seventh cervical vertebra along the spine to the installation tape at the waist. |
| DTP | Front Waist Length | From the highest point of the shoulder seam through the protruding point of the chest to the waist line. |
| VG | Chest height | From the highest point of the shoulder seam to the most protruding point of the chest. |
| SCG | Armhole width | Measured horizontally at the level of the armpits with the arm lowered. |
| DR | Sleeve length | From the shoulder point along the arm slightly bent at the elbow to the wrist. |
Critical balance sheet measures
The balance of the product is the ratio of the length of the front and back. It is the balance measurements (Accident and DTS) that are responsible for ensuring that the product does not fall back or jerk in the front.
The difference between an accident and a traffic accident depends on your posture and breast size. With a stooped posture, the length of the back increases, and with a bent posture, the length of the front increases. Violation of this balance leads to creases in the armhole and neckline area.
Top 5 Common Measuring Errors
- Measuring yourself: It is impossible to take vertical and balance measurements from yourself with high accuracy - when you raise your arms or tilt your head, the measurements are distorted.
- Waist line shift: If the adjusting elastic band moves during the measurement process, all vertical measurements (DRT, DTS, VB) will be incorrect.
- Ignoring the protrusion of the abdomen: When measuring the circumference of the hips, be sure to apply a flexible ruler to the stomach, otherwise the trousers or skirt will be small in the front.
- Tension of the tape too strong:Tightening the measuring tape leads to the fact that the finished clothes are small in dynamics.
- Using an old measuring tape: Over time, tailor's tapes stretch, which gives an error of up to 1-2 cm per 1 meter.
Tailor's advice
Always check the product width reference formula: Back Width + 2 × Armhole Width + Chest Width = Bust. If the sum of these three measurements does not coincide with the full exhaust gas (with a minimum tension error), retake the measurements again. Our catalog ready-made patterns with detailed sizing grids will help you choose the exact size and check your measurements.
Frequently asked questions (FAQ)
What is the difference between fit allowance and measurements?
Measurements are the exact measurements of the body without clothes. Increases (Pg, Pt, Pb) are design values that are added to the measurements when constructing a drawing to ensure freedom of movement and create a silhouette.
How to correctly measure the length of trousers?
The length of the trousers is measured along the side seam from the waist line (installation elastic band) through the most convex part of the thigh to the floor (taking into account the height of the heel of the shoe).
What to do if the measurements are between two standard pattern sizes?
For shoulder items (blouses, jackets, coats), choose the size according to the OG measurement, and for waist items (trousers, skirts) - according to the OB measurement, smoothly adjusting the side seams when cutting. And if you are looking for a trusted contractor for mass sewing according to individual patterns, use the section sewing enterprises and workshops.
Expertly designed patterns are the key to a perfect fit of any product. To be the first to learn about the intricacies of design, modeling and trends in the sewing world, subscribe to our video channel Pattern - Ready-made patterns.





