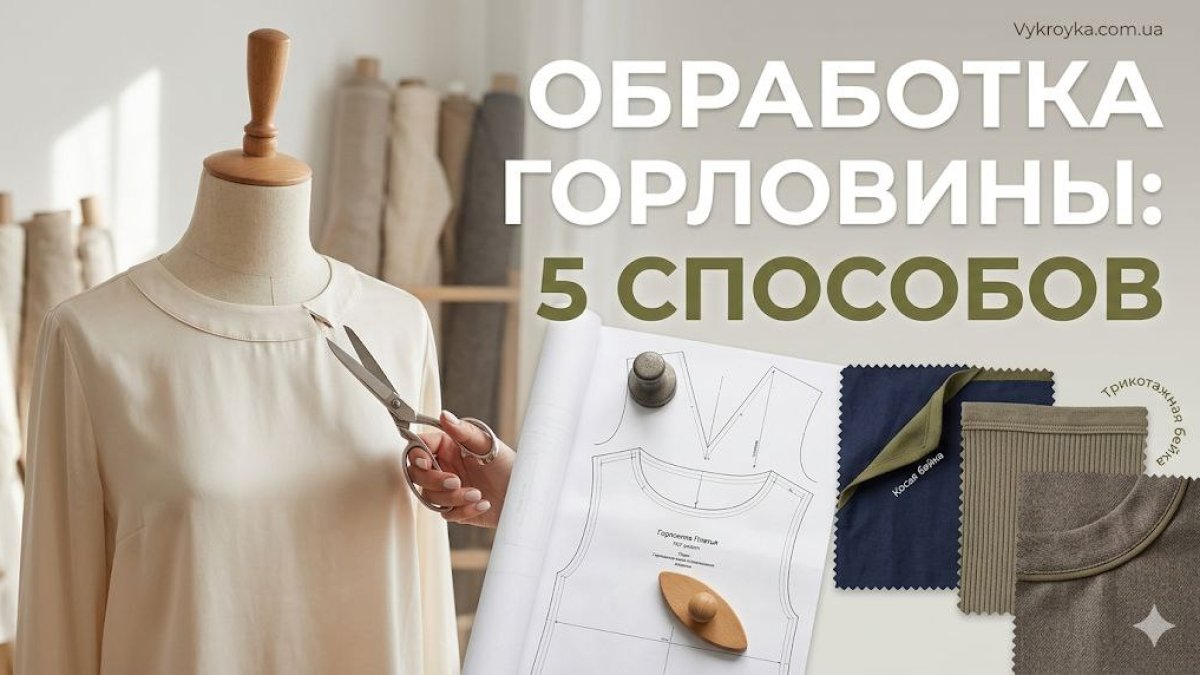
The neckline is the face of any garment. Depending on the type of fabric, density of the material and style of the dress or top, a certain technological processing scheme is selected. An incorrectly chosen method leads to deformation of the cutout, routing of seams or a stretched “wave”. In this visual master class, we examine in detail the 5 main professional methods of neck processing.
Contents of the master class
- Method 1. Undercut with duplication and fluff
- Method 2. Edging with bias tape (open and closed cut)
- Method 3. Clean processing of the neckline with the lining of the dress
- Method 4. Stitched elastic rib/cashkorse binding
- Method 5. French double placket on chiffon
- Expert advice: formula for calculating the fit factor of the trim
- Frequently asked questions (FAQ)
Method 1. Undercut
Classic method for jackets and dresses made of wool, cotton and linen. The facing follows the contour of the neckline, is duplicated with adhesive interlining and attached with a fixing stitch along the allowance (fluff).
Method 2. Bias tape
The binding is cut strictly at an angle of 45 degrees. It is stitched from the face of the product, goes around the cut and is adjusted from the inside into the stitching seam or into the edge by 1 mm.
Method 3: Clean lining treatment
In lined products, the neckline and armholes are stitched together with the lining details, the allowances are cut at the rounding points and turned inside out through the shoulder tunnels.
Method 4. Ribbon/cashkorse binding
For T-shirts and sweatshirts: the elastic strip is cut out with a coefficient of 0.75–0.80 and sewn on a 4-thread overlock with a uniform stretch.
Method 5. French double plank
For transparent thin fabrics (silk, chiffon): the bias tape folded in half is stitched to the cut, folded inside out and secured with hand-held blind stitches.
Tailor's advice
Always score the concave neckline seam allowance every 1.5-2cm, within 1mm of the stitching, so that the cut lies completely flat. And our ready-made patterns will help you sew a dress with the perfect neckline.
Frequently asked questions (FAQ)
How to strengthen a neckline from stretching to sewing?
Immediately after cutting, place a stabilizing stitch along the neckline at a distance of 5–7 mm from the edge or iron the adhesive threaded edge.
How wide should the finished bias tape be?
When finished, the standard width of the binding ranges from 5–6 mm (on thin blouses) to 10–12 mm (on thick fabrics).
Expertly designed patterns are the key to a perfect fit of any product. To be the first to learn about the intricacies of design, modeling and trends in the sewing world, subscribe to our video channel Pattern - Ready-made patterns.