Sewing the central split zipper into a jersey sweatshirt, bomber jacket or sweatshirt is a key operation that determines the neatness and balance of the front of the product. A stretched wavy edge of the side or a skew of the lower belt instantly gives away handicraft work. In this step-by-step master class we will analyze the industrial technology of assembling a fastener with partial duplication and ideal pairing of nodes.
Contents of the master class
- Preparation of parts: stabilization of the side with adhesive doli
- Pairing the zipper with the undergarter (belt) and collar
- Step-by-step installation of zipper tape and checking symmetry
- Clean backing and finishing stitching
- Tailor's advice: wet-heat treatment of the zipper stitching unit
- Frequently asked questions (FAQ)
Preparation of parts: stabilization of the side with an adhesive dolevik
The main reason for the “wave” along the zipper on knitwear is the stretching of the fabric under the sewing machine foot. To avoid this, before stitching, the allowances of both sides are strengthened with a thin knitted adhesive filler (1.2–1.5 cm wide) with a slight overlap beyond the stitching line.
Pairing the zipper with the undergarter (belt) and collar
Before sewing, be sure to place reference chalk marks on both sides of the zipper tape: collar seam level, chest line, yoke/pocket seams and the top edge of the cashcorse/ribbon waistband.
Step-by-step installation of zipper tape and checking symmetry
- Pin or baste the right side of the split zipper facing the side of the piece.
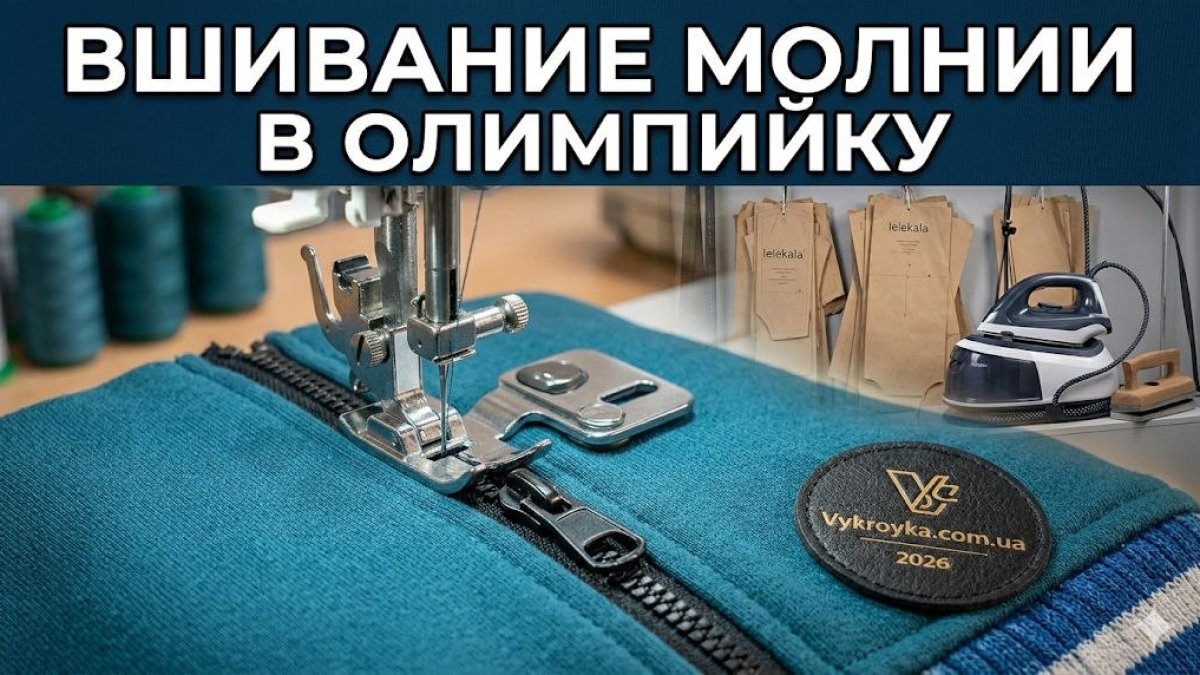
- Sew the zipper on a straight stitch machine using a single zipper foot, stitching 2-3mm from the links.
- Close the zipper and transfer the precise notches to the left side of the side. Baste and sew in the left half of the fastener.
- Fasten the product and make sure that all seams are absolutely symmetrical (0 mm tolerance).
Clean backing and finishing stitching
The allowance for stitching the zipper is closed with a one-piece facing or keeper tape, after which a neat finishing stitch is laid along the front side to a width of 0.5–0.7 cm from the edge of the bead.
Advice from the Master
After attaching the zipper, be sure to perform a gentle damp-heat treatment of the knot through the ironing iron from the wrong side to release the tension of the fibers. And proven ready-made patterns from our catalog will help you sew a sweatshirt with ideal proportions.
Frequently asked questions (FAQ)
Which zipper to choose for a footer sweatshirt?
The optimal choice is a spiral twisted zipper (type 5) with soft synthetic braid or a medium-sized tractor zipper. Metal zippers for knitwear are not recommended due to the extra weight.
What to do if the board does move with a wave?
If the zipper has not been used and the fabric has stretched, open the stitching, press the edge with an iron and steam, glue it with the stitcher and sew the zipper again, slightly seating the knitwear.
Expertly designed patterns are the key to a perfect fit of any product. To be the first to learn about the intricacies of design, modeling and trends in the sewing world, subscribe to our video channel Pattern - Ready-made patterns.

Apparel Industry Hub in Telegram
Community of garment manufacturers, tailors and designers. Daily fresh workshop vacancies, verified factories database and direct contacts.