
Sewing knitwear garments (French terry, rib knit, kashkorse, single jersey) involves specific tailoring nuances. One of the most common challenges sewists encounter is finishing necklines, armholes, or sleeve hems with an elastic rib knit band or cuff.
If you calculate the stretch ratio incorrectly or accidentally pull the main garment while stitching, the edge will inevitably stretch out into unsightly ripples and waves. Let''s explore the professional method for attaching perfectly flat, snug knit cuffs and neckbands.
Essential Foundation: Calculating the Stretch Ratio
The secret to a crisp, lie-flat knit cuff or neckband is drafting it slightly shorter than the garment opening so that it gently pulls the neckline flush against the body.
- For 1x1 or 2x2 rib knit & kashkorse (high elasticity with elastane/spandex): the standard ratio is 0.75–0.80 (multiply total neckline circumference by 0.75–0.80).
- For medium-weight French terry or cotton jersey: the stretch ratio is approximately 0.85–0.90.
Step-by-Step Construction Guide
Step 1. Preparation and the Quarter-Point Method
- Fold the ribbing strip in half widthwise, right sides together, and stitch into a continuous loop on a serger/overlocker or using a narrow stretch stitch. Press the seam open or alternate seam allowances to minimize bulk.
- Fold the loop in half lengthwise, wrong sides together, and press the fold line lightly with steam.
- Divide both the neckband loop and the garment neckline into 4 equal quadrants. Mark each quarter point with tailor''s pins or tiny clips (1–2 mm).
Step 2. Pinning the Quadrants Evenly
Place the neckband around the right side of the garment neckline, matching raw edges and aligning all 4 quarter marks (aligning the band seam with the center back or left shoulder seam). Pin through all three raw fabric layers perpendicular to the seam line.
Step 3. Stitching with Even Elastic Tension
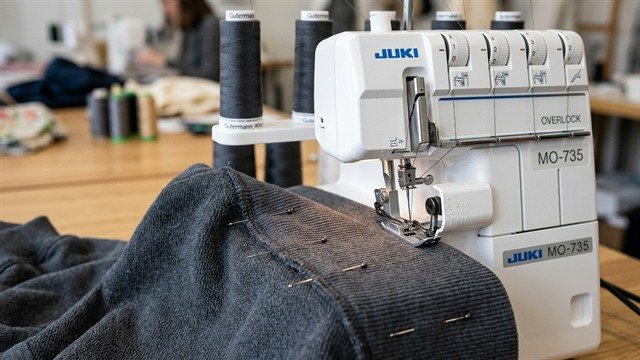
Stitch on a 4-thread overlocker or using a stretch/jersey needle (size 75/80 Stretch or Ballpoint) on your sewing machine:
- Golden Rule: Gently stretch only the neckband between pins until it matches the length of the garment edge. Never stretch the garment bodice itself!
- Let the serger blade trim only fuzz and stray threads, without cutting away necessary seam allowance.
- Thread the serger thread tails back into the overlock seam using a tapestry needle or latch hook.
Step 4. Final Steam Pressing
Press the seam allowances toward the body of the garment. Apply a burst of steam with your iron: the elastane fibers will immediately contract to their relaxed memory state, effortlessly eliminating any slight waving caused during stitching.
Tailoring Pro Tips
- Stabilize shoulder seams: use clear elastic or stay tape in the shoulder seams to keep the neckline structured.
- Adjust differential feed: if the fabric ripples under the presser foot, increase your serger''s differential feed (e.g., from 1.0 to 1.2–1.3) to gently gather the knit as it feeds.
- Always test on scrap fabric: test your stitch length and differential feed setting on matching knit scraps first.





