Working with leather brings a striking, high-end feel to garments and accessories—from sleek jackets and skirts to structured bags. While many sewers assume an industrial walking-foot machine is mandatory, you can achieve clean, durable seams on a standard domestic sewing machine with the right setup and professional techniques.
1. The Golden Rule: Leather Forgives No Mistakes
Unlike woven fabrics where needle holes can be erased with a burst of steam, every single puncture in leather and faux leather is permanent. Ripping out a crooked seam leaves permanent perforations.
- Never use sewing pins across seamlines. Fasten your layers using sewing clips, binder clips, or low-tack painter's tape.
- Always sew a test swatch: test your stitch length, tension, and thread on scrap cuts of the exact leather you are using.
2. Choosing the Right Needles
A standard universal needle will cause skipped stitches, stick into dense hides, and tear the edges of needle holes.
- For genuine leather: use specialty needles labeled Leather (indicated by
H-LLorH-LR). Their chisel-shaped triangular cutting point cleanly slices through fibrous hide without tearing. - For faux leather, vegan leather & vinyl: use Microtex or Jeans needles. Leather needles can slice into the knit or polyurethane backing of synthetic leather, causing seam weakness.
- Needle size: select size 90/14 to 110/18 depending on thickness.
3. Fabric Feeding: Teflon, Roller & Walking Feet
The primary hurdle on a domestic machine is friction: the polyurethane or natural finish of leather sticks to standard metal presser feet, causing uneven stitches and skipped feeding.
- Teflon / Non-stick foot: the smooth polymer sole glides effortlessly across tacky surfaces.
- Roller foot: revolving knurled wheels ride across the leather, minimizing drag.
- Walking foot (even feed): the ultimate accessory for heavyweight hides and multi-layered assemblies.
- Quick Hack: place tissue paper or tracing paper over the seam line, or stick a piece of painter's tape under your standard presser foot. Tear away paper after sewing.
4. Thread Selection and Stitch Length
Thread: choose high-tensile 100% bonded polyester or nylon thread (such as Gutermann Mara or Coats Poly). Cotton thread will quickly abrade and snap against leather hole edges. For topstitching, choose heavyweight topstitching thread (No. 30–40).
Stitch Length: increase stitch length to 3.5–4.5 mm (up to 5.0 mm for decorative topstitching). Short stitches (1.5–2.0 mm) act like a postage stamp tear strip, causing the leather to tear apart along the seam line under pressure.
5. Seam Finishing and Pressing Without Steam
Never apply direct steam or high heat to leather. Steam hardens and shrivels natural hide, while heat melts synthetic coatings.
- Pressing: use a completely dry cotton press cloth with iron set to the lowest wool/silk temperature—no steam.
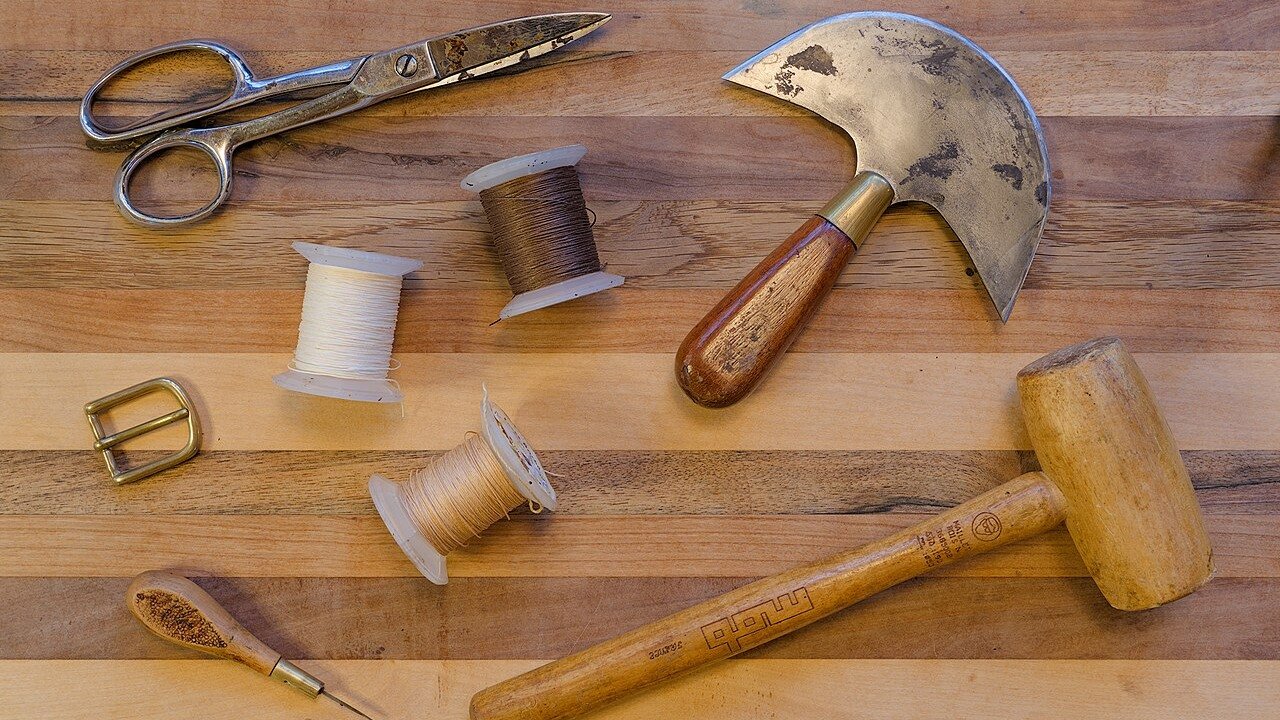
- Seam Flattening: adhere seam allowances flat using leather craft glue, rubber cement, or leather transfer tape, then gently tap along the seam with a wooden mallet.
Explore Ready-to-Sew Leather Patterns
Browse our pattern collection crafted with precise notches, seamlines, and tailoring allowances.
Browse Pattern Catalog