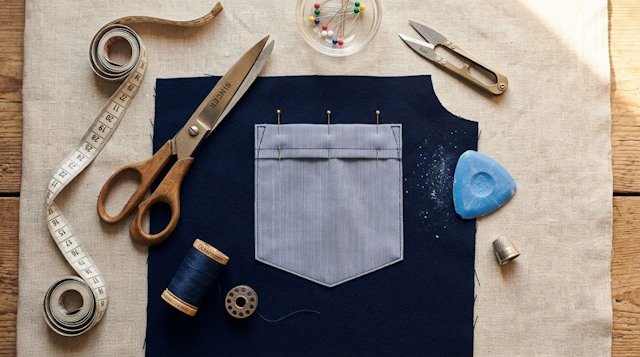
A patch pocket is not only a functional component of a garment, but also a prominent styling detail featured on shirts, jackets, skirts, dresses, and coats. The overall look of the entire garment depends on the precision of this construction, as pockets are always at the focal point. Here is a step-by-step masterclass on how to prepare, press, and topstitch a patch pocket cleanly without distortion or fabric puckering.
- Required Tools and Supplies
- 1. Preparation and Interfacing the Hem
- 2. Finishing the Top Hem (Pocket Opening)
- 3. Shaping Crisp Seam Allowances with a Template
- 4. Marking Pocket Placement on the Garment
- 5. Basting and Securing Layers
- 6. Topstitching and Reinforcing Corners
- 7. Final Pressing and Finishing
- Garment piece and cut pocket piece with calculated seam allowances;
- Fusible interfacing of medium weight to stabilize the upper hem;
- Cardboard pressing template cut to the finished size of the pocket (no seam allowances);
- Matching thread, fine hand needles for basting, and dressmaker pins;
- Steam iron and press cloth for professional pressing.
1. Preparation and Interfacing the Hem
Cut out your pocket piece with seam allowances: 2.5–3 cm along the top edge (for the hem), and 1–1.5 cm along the sides and bottom. Apply a 2.5–3 cm strip of fusible interfacing to the wrong side of the top hem. This prevents the pocket opening from stretching and bagging out with daily wear.
2. Finishing the Top Hem (Pocket Opening)
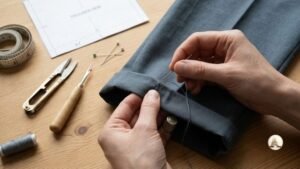
Finish the raw upper edge with a serger or zigzag stitch (for lightweight fabrics, a double-folded narrow hem can be used). Fold the hem allowance to the wrong side along the fold line, press crisply, and topstitch 1.5–2 cm from the top edge. For tailored styles, catch-stitch the hem invisibly by hand.
3. Shaping Crisp Seam Allowances with a Template
The tailor's secret for crisp, identical patch pockets is a stiff cardboard pressing template cut to the exact finished dimensions without seam allowances:
- On curved pockets, sew a gathering basting line 1 cm from the edge around the corners;
- Place the cardboard template onto the wrong side of the pocket piece;
- Fold the seam allowances over the template and steam-press thoroughly through a press cloth, pulling gathering threads slightly on curves to ease in fullness;
- Miter and clip excess bulk in the corners at a 45-degree angle;
- Slide out the cardboard template—the pocket edges remain razor sharp and symmetrical.
For square pockets, fold and press the bottom allowance first, then fold the side allowance over it. Form a neat 45-degree mitered envelope fold at the corner. This eliminates multiple bulky fabric layers and allows the sewing machine foot to glide flatly over the corner.
4. Marking Pocket Placement on the Garment
Lay the garment flat on your work table. Using tailor's chalk or an erasable fabric marker, mark the exact pocket placement guidelines according to the pattern. Verify horizontal alignment and symmetry from the center front and side seams.
5. Basting and Securing Layers
Never rely solely on pins when sewing patch pockets. The pressure of the presser foot will push the pocket fabric forward, causing twists and wrinkles.
- Pin the pocket in place strictly within the marked guidelines;
- Hand-baste the pocket with diagonal basting stitches 3–5 mm inside the outer edge;
- Remove the pins and check that the garment lies completely flat without bubbles.
6. Topstitching and Reinforcing Corners
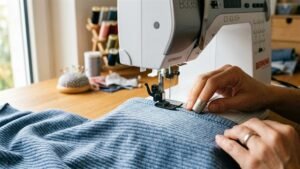
Equip your machine with an edge-stitching foot or compensating foot to stitch an exact 1–2 mm edge line. Start at the upper pocket corner. Always reinforce the upper corners to withstand everyday strain:
- Triangle reinforcement: stitch 3–5 mm along the top edge toward the center, pivot 45° to the outer corner, then stitch down;
- Box reinforcement: stitch a tiny rectangle at the corner for extra durability;
- Double topstitching: classic casual or workwear styling with 5–6 mm spacing between parallel stitch lines.
Sew steadily at moderate speed, pivoting precisely with the needle down at corners and curved arcs.
7. Final Pressing and Finishing
Carefully remove all basting threads. Place the garment right side up on the ironing board, cover with a dry press cloth, and press thoroughly with steam. Allow the fabric to cool completely on the board so the fibers set in their pressed, flat memory.
Explore Ready-to-Sew Patterns with Patch Pockets
Discover our collection of jackets, utility shirts, coats, and vests with precisely marked pocket placements.
Browse Pattern Catalog