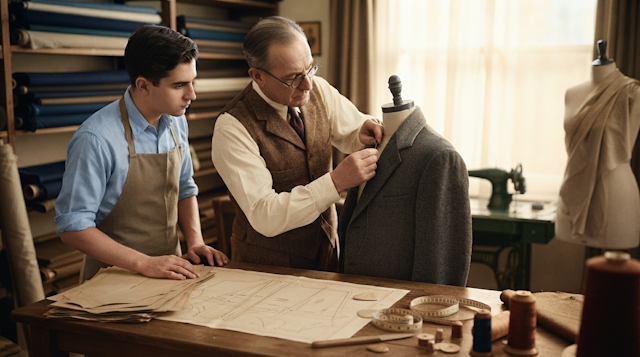
The collar serves as the architectural focal point of any tailored garment. It commands immediate visual attention, establishes stylistic identity (from crisp executive blazers to relaxed luxury coats), and defines the overall caliber of craftsmanship. Collars and lapels are universally acknowledged as among the most challenging components in patternmaking: the slightest miscalculation in neckline circumference or facing tension results in unsightly flare, collar stand-off, or puckered fronts. At vykroyka.com.ua, we examine the drafting principles and assembly techniques for two quintessential collar constructions.
1. Shirt Collar on a Separate Stand: Calculation and Fit
This classic collar configuration is universally applied across tailored dress shirts, silk blouses, and light coats. Its success hinges upon balanced stand height and harmonious fall inclination.
The Cardinal Rule: Actual Neckline Measurement
Never rely strictly on flat pattern measurements when drafting the collar seamline. Determine the seam length directly from the garment body after shoulder seams are joined and the fitting is completed. Stand a flexible tape measure on edge to capture the precise cumulative distance along the back neck and front neck to the center front overlap.
Iron Shaping (VTO) of the Collar Stand
Modern drafts feature an anatomically curved collar stand rather than a straight rectangle. Prior to insertion, press and mold the stand with steam: slightly ease in the lower neck insertion curve while stretching the upper outer edge. This curvature hugs the cervical base smoothly without standing rigid or collapsing.
2. Tailored Notched Collar and Lapel: Jacket Geometry and Roll Balance
The notched lapel is the timeless hallmark of bespoke tailoring. Its architectural drafting is intimately integrated with the garment front and the gorge line (the junction connecting collar and lapel).
Anatomy of the Lapel Assembly
- The lapel extends seamlessly from the jacket front. The roll line dictates the roll softness and jacket stance;
- Gorge Line Angle: The definitive aesthetic point of a tailored jacket. The notch angle between collar and lapel must remain crisp and symmetrical, free from gaping or overlapping bulk;
- The Lapel Roll Secret: To achieve a gentle, non-gaping roll across the chest, tape the roll line on the canvas or wrong side with stay tape under slight tension (easing in 1–2 mm of fabric), and interface the front facing with fusible hair canvas cut strictly on the true lengthwise grain.
3. Insertion Protocol and Roll Ease: Three Golden Rules
- Matching Balance Notches: Always align the center back collar mark precisely with the center back neck seam, and match stand balance notches dead-on with shoulder seams;
- Accommodating the Turn-of-Cloth: The upper collar must be cut 2–3 mm wider and longer along outer edges than the undercollar. Ease in this surplus during stitching so the seam rolls naturally to the underside, creating a clean 1 mm turn-of-cloth that hides the seamline;
- Grading and Mitering Corners: Clip point corners at a clean 45-degree angle stopping 1 mm before the needle pivot, and grade enclosed seam allowances steps-down to produce knife-sharp, non-bulky points upon turning.
To guarantee that collar points and lapel notches are mirror-identical, cut an accurate template from stiff card stock. Trace against this card template on the interfacing with fine tailor's chalk before stitching—ensuring millimeter-perfect symmetry between left and right sides every time!
Mastering collar geometry and insertion elevates sewing craftsmanship to couture atelier standards. Explore comprehensive sewing masterclasses, drafting tutorials, and precision patterns on the homepage of vykroyka.com.ua.
Sew Jackets and Coats with Impeccable Collars!
The Vykroyka pattern collection features professional digital templates for jackets, blouses, and coats with mathematically balanced necklines.
VIEW PATTERNS →