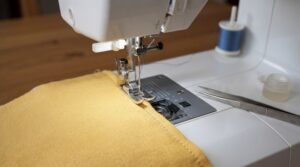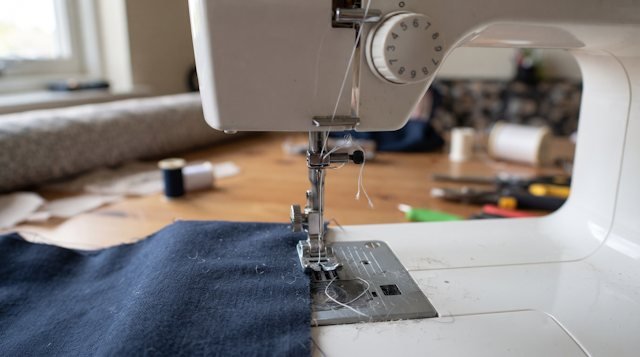
Upper thread snapping unexpectedly is another classic issue faced by beginners and seasoned garment makers alike. Your sewing machine makes a few stitches, emits a sharp click, the thread breaks, and you are forced to rethread the entire path from scratch. In this guide, we break down the four primary mechanical causes behind upper thread breakage and provide clear, step-by-step solutions to restore a smooth, flawless stitch.
1. Incorrect Threading and Spool Snags
Improper threading is the single most common culprit behind snapped thread. If the thread skips a single guide hook, tension check spring, or the take-up lever eyelet, friction spikes exponentially, snapping the thread fibers on the downstroke.
- Rethread with Presser Foot Raised: completely remove the thread from your machine. Always lift the presser foot to the highest position before threading. This disengages the internal tension discs, allowing the thread to seat deeply and cleanly between them;
- Spool Cap and Feed Direction: check spool orientation on horizontal spool pins. Always use an appropriately sized spool cap (spool stopper) so the thread unrolls smoothly without catching on the rim notch of the spool.
Always thread the machine with the presser foot UP, and insert the bobbin with the power OFF. When threaded with the presser foot down, the tension discs remain closed, leaving the thread loose or jamming it severely, resulting in sudden breakages or messy thread nests underneath.
2. Excessive Upper Thread Tension
If the tension dial is set too high (for instance, 7 to 9 on standard lightweight or medium fabrics), the discs clamp the thread with excessive force. As the rotary hook catches the loop to interlock the stitch, the thread lacks elasticity and snaps.
- Standard Setting: reset your upper tension dial to the factory baseline (normally between 4 and 5, or the "Auto" mark);
- Clean the Tension Discs: lint, fabric fluff, and tiny thread fragments accumulate between the tension discs over time, causing friction spikes. Fold a strip of crisp cotton cloth in half or take a piece of unflavored dental floss, and gently floss between the raised tension discs to clear debris.
3. Needle and Thread Size Mismatch
During normal sewing, a machine needle penetrates fabric 800 to 1,000 times per minute. If the thread is too thick for the needle's eye and front groove, friction will shred the thread in just a few inches of stitching.
- Heavy Thread in Small Needle: using size 30 or 40 topstitching thread in a size 70 needle forces thread to scrape against the eye edges, quickly wearing it through;
- Pairing Guidelines: for delicate fabrics (silk, chiffon, batiste), use 65/9 to 75/11 needles with fine 60–80 wt threads; for medium woven garments, use 80/12 to 90/14 needles with 40–50 wt all-purpose polyester; for denim or heavy canvas, use 100/16 to 110/18 needles;
- Thread Quality: avoid degraded vintage cotton spools. Use high-tenacity, smooth corespun polyester threads from trusted brands.
4. Burrs, Scratches, and Damaged Parts
If threading and tension are verified but thread breakage persists at the exact same needle position, inspect the metal surfaces along the thread pathway for physical damage.
- Throat Needle Plate: needle strikes can leave sharp burrs and micro-notches around the needle hole. As the thread passes through, the burr acts like a razor. Buff and polish rough edges using fine 1000+ grit wet-or-dry sandpaper or polishing compound;
- Needle Flaws: a bent, dull, or defective needle with a rough eye will slice the thread. Always swap in a fresh, premium needle (Schmetz, Organ);
- Shuttle Hook Point: inspect the hook point in the shuttle compartment. If a deflected needle struck the hook point, buff away any micro-burrs to ensure smooth thread looping.
Sew with Joy Using Precision Patterns!
Browse the Vykroyka catalog for professional digital sewing patterns featuring detailed illustrated construction guides.
Explore Pattern Catalog