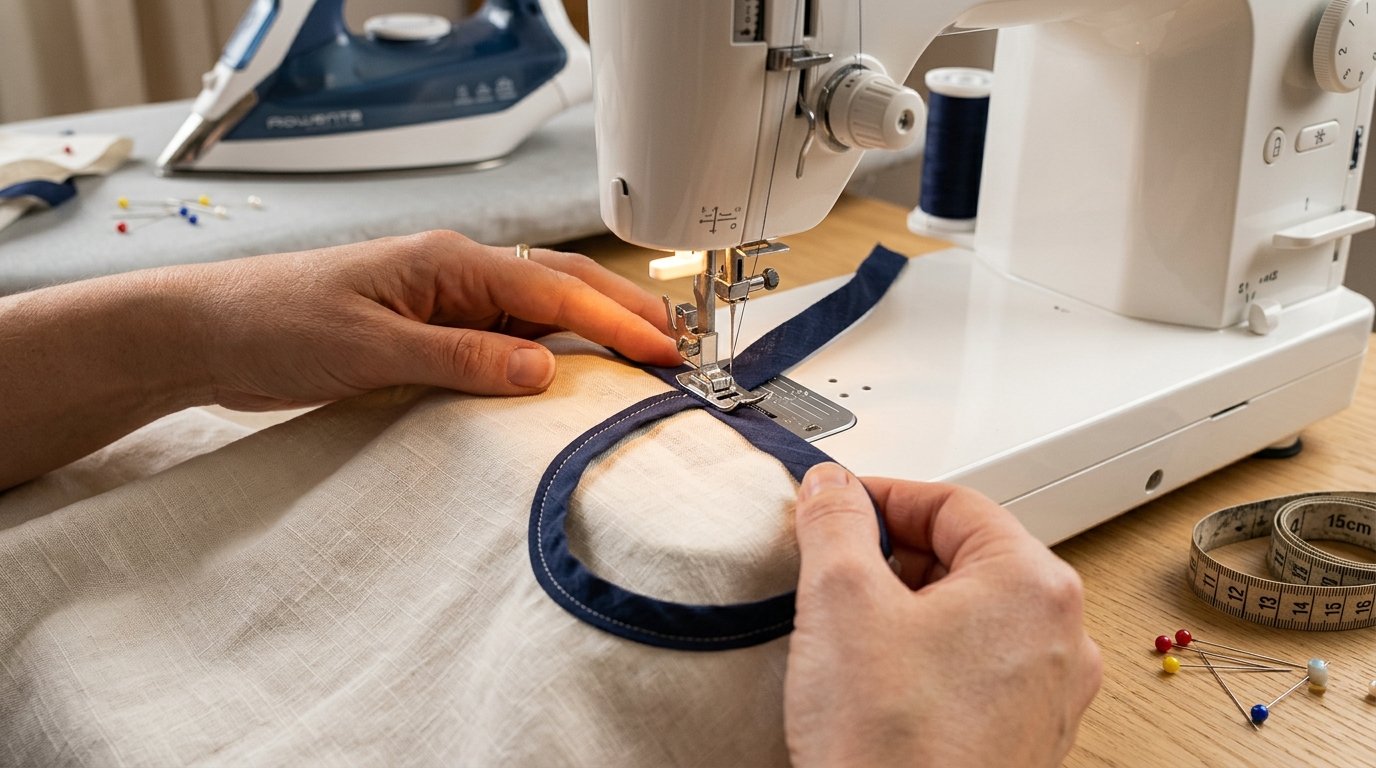
Binding a curved neckline with bias tape is one of the cleanest, most versatile, and elegant seam-finishing techniques for dresses, blouses, tops, and children's clothing. Accurately cut and pressed on a 45-degree angle, bias tape effortlessly curves around necklines without puckering, gaping, or stretching the raw edge.
Master how to cut bias strips, press them with turn-of-cloth curvature, and stitch a smooth neck binding without wrinkles or waves. Here is the definitive step-by-step tailoring masterclass.
Materials and Tools
- Garment piece with assembled shoulder seams and trimmed neckline.
- Bias fabric: lightweight cotton batiste, silk, lawn, or viscose matching or contrasting the garment.
- Tailor’s chalk, clear grid ruler, fabric shears, and fine glass-head pins.
- Steam iron with pressing cloth and standard sewing machine straight stitch.
Step-by-Step Bias Binding Technique
Step 1. Cutting and Pre-Shaping the Bias Strip
- Fold fabric at an exact 45-degree angle across the grainline. Mark and cut strips 3.5–4 cm wide (yielding an 8–10 mm finished binding).
- Join strip segments along diagonal edges with right sides together, trim seam dog-ears, and press seams flat open.
- Press the entire bias tape in half lengthwise, wrong sides together.
- Unfold and press both raw long edges inward toward the center crease, leaving a 1 mm gap at the center, then re-fold and press (or use a bias tape maker tool).
💡 Tailor's Secret: Pre-shape your folded bias tape into a curve using steam on your ironing board, stretching the folded edge slightly while shrinking raw edges into the neckline curve. This ensures the binding lies completely flat on the body!
Step 2. Attaching the Bias Tape to the Neckline
- Open one fold of the bias tape. Place it right sides together along the raw neckline edge, matching raw edges.
- Start pinning at a shoulder seam or center back. Gently pull the bias tape taut around tight curves while keeping the garment neckline relaxed.
- Stitch along the pressed crease line exactly 7–8 mm from the raw edge. Join bias ends cleanly on the bias.
Step 3. Enclosing Raw Edges and Final Stitching
- Press the seam allowance toward the bias tape. Grade the garment seam allowance down to 3–4 mm to remove excess bulk.
- Wrap the bias tape cleanly around the raw seam allowance toward the garment wrong side, ensuring the lower folded edge covers the first stitchline by 1 mm.
- Pin or baste securely from the right side.
- Stitch in the ditch from the right side directly along the seamline (or edge-stitch 1 mm along the binding), catching the folded inner edge underneath.
✅ Couture Finish: Remove basting threads and steam-press thoroughly through a pressing cloth. The bound neckline will lay perfectly flat, soft, and comfortable against the skin.
Explore more tailoring tutorials and download ready-to-sew PDF patterns at vykroyka.com.ua!