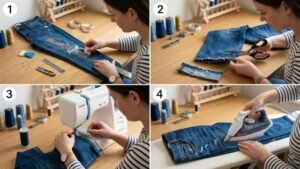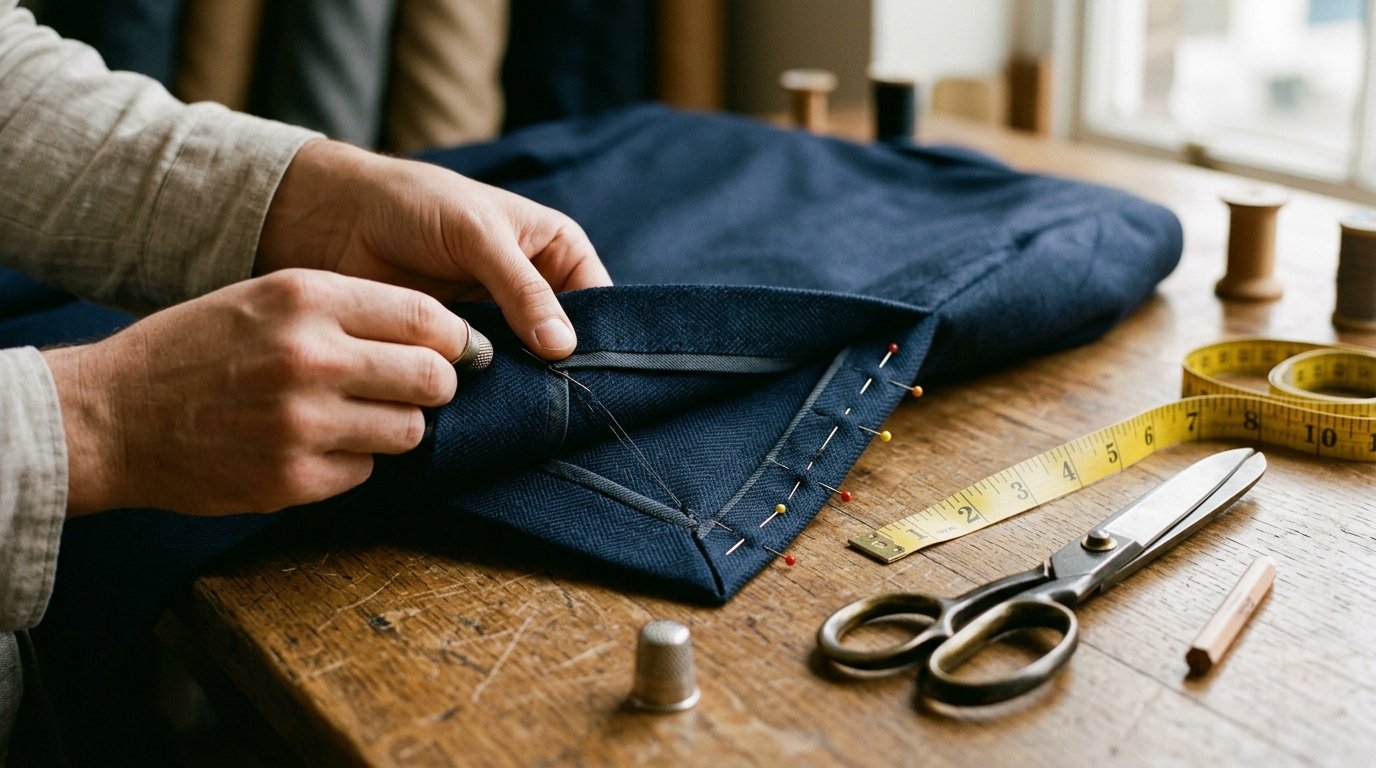
A vent or slit on a tailored skirt, dress, or jacket is an essential design feature that ensures elegant style, natural movement, and complete stride comfort. Mastering the construction of a tailored vent requires precision: exact seam alignment, smooth flat pressing, and crisp 45-degree mitered corners.
Learn the professional tailoring technique for stabilizing seam allowances, stitching mitered corners, and finishing a skirt vent with a secure diagonal bar-tack topstitch.
Materials and Preparation
- Garment pattern pieces (back skirt or jacket panels) with extended 4–6 cm vent allowances.
- Lightweight fusible interfacing strips to stabilize allowances.
- Tailor’s chalk, ruler, pins, shears, and a point turner.
- Steam iron and wooden tailor's clapper for flattening seam edges.
Step-by-Step Tailored Vent Construction
Step 1. Interfacing and Pressing
- Apply fusible interfacing strips to the wrong side of both vent extensions, extending 1–2 mm past the seamline to prevent stretching.
- Serge or finish the raw outer edges of both vent extensions.
- Stitch the center back seam from the waistline down precisely to the top vent mark and backstitch firmly.
- Clip the lower underlap allowance horizontally toward the seamline. Press the upper center seam open, and press both vent extensions flat toward the wearer's left.
💡 Tailor Tip: Clipping the underlap allowance allows the seam above the vent to press completely flat without straining the vent transition.
Step 2. Constructing the 45-Degree Mitered Corner
- Fold the upper overlap vent extension right sides together along the crease line.
- Stitch diagonally at a precise 45-degree angle from the vent top point to the outer fold.
- Trim the corner allowance to 2 mm and clip the angle tip diagonally.
- Turn right side out, gently shape the sharp corner with a wooden point turner, and press flat.
Step 3. Securing and Topstitching the Vent
- Align both vent sides, pin securely, and ensure the finished hemline creates a continuous, unbroken line.
- Mark a diagonal or horizontal securing line on the right side using tailor's chalk (typically at a 45° angle, 2–3 cm below the vent top).
- Topstitch cleanly through all layers to secure the vent overlap to the underlap, finishing with secure backstitches.
- Hem the garment bottom, mitering lower corners cleanly for a sleek, bespoke finish.
✅ Bespoke Finish: Final steam pressing followed immediately by a tailor's clapper cools the fibers instantly, locking in sharp edges and a pristine couture finish.
Explore more tailoring guides and download ready-to-sew PDF patterns at vykroyka.com.ua!