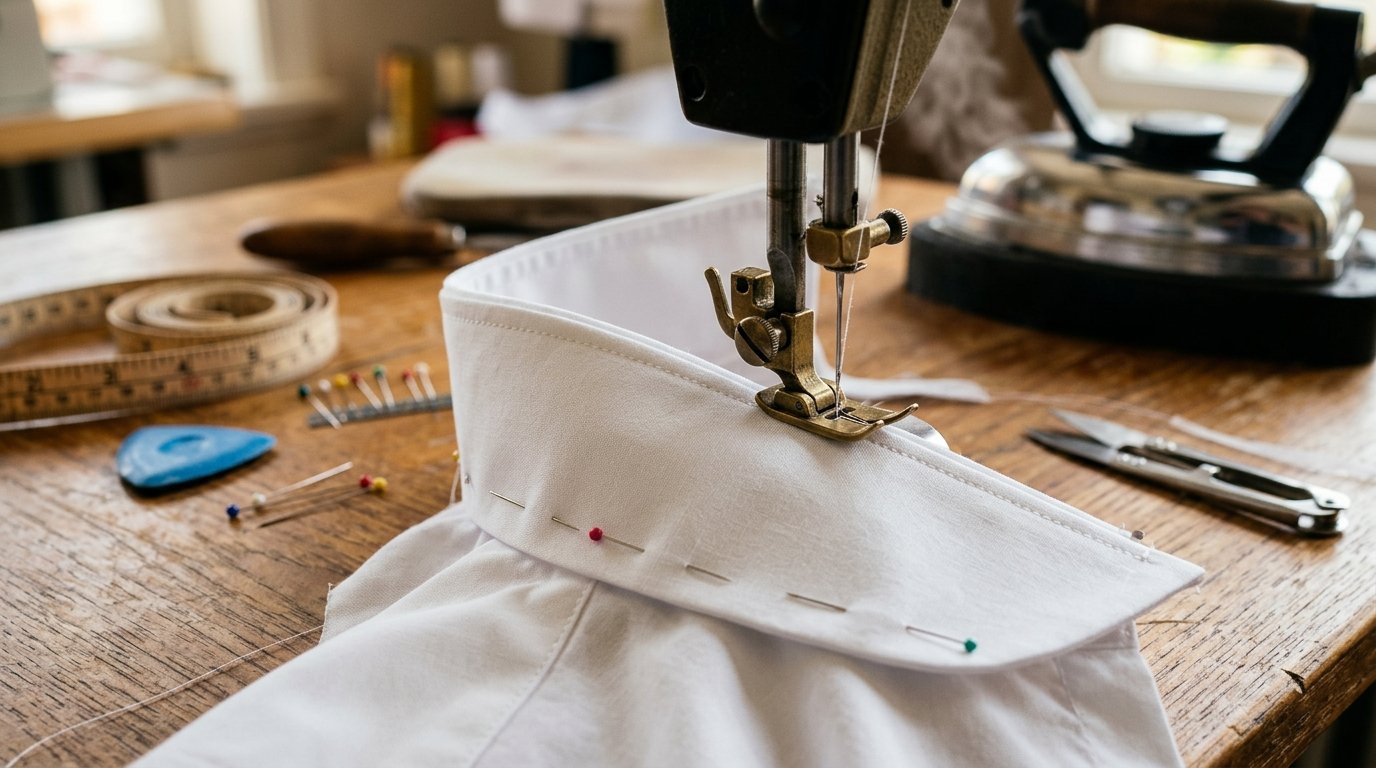
Sewing a classic shirt collar with a stand is one of the most critical and refined tailoring operations in garment construction. Symmetrical collar points, crisp roll lines, and a smooth collar stand define the overall quality of any tailored shirt, blouse, or dress.
Learn how to properly interface collar pieces, assemble the collar leaf and stand, and insert the unit into the neckline without twists or puckering. Here is the definitive step-by-step tailoring guide.
Required Materials and Tools
- Garment fabric plus cut collar and stand pieces.
- Quality woven or lightweight fusible interfacing suited for shirt fabrics.
- Fine tailor pins, matching thread, scissors, and a point turner.
- Steam iron and tailor's pressing ham for professional pressing.
Step-by-Step Collar Tailoring Algorithm
Step 1. Interfacing and Preparation
Cut two collar leaf pieces (upper and under) and two collar stand pieces (inner and outer) with 7–10 mm seam allowances.
Apply fusible interfacing to the upper collar and outer stand using a pressing cloth and steam iron. Press firmly straight down without sliding the iron, then allow parts to cool completely on a flat surface.
Step 2. Stitching and Turning the Collar Leaf
- Place upper and under collar right sides together, aligning center notches and edges.
- Stitch along both side edges and the outer edge with a 2–2.5 mm stitch length, leaving the neck edge open.
- Clip corners diagonally leaving 1.5 mm from the stitch line, and grade seam allowances to reduce bulk.
- Turn right side out, gently shape sharp corners with a point turner, and press with a slight roll toward the under collar. Topstitch if desired.
Step 3. Assembling the Collar Leaf and Stand
- Sandwich the finished collar between the inner and outer stand pieces (right side of outer stand facing upper collar).
- Align center notches and collar ends to match marks on the stands. Pin securely from center outward.
- Stitch continuously around the curved stand edge, along the collar seam, and down the opposite curve.
- Notch curved allowances, turn the stand right side out, and press thoroughly.
Step 4. Attaching the Stand to the Neckline
- Pin the outer stand to the neckline, right sides together, matching center back and front placket notches.
- Stitch the outer stand to the garment neckline. Press seam allowances up into the stand.
- Fold the inner stand seam allowance under by 1 cm to cover the stitch line by 1 mm; pin in place.
- Topstitch cleanly from the right side along the lower stand edge (stitch in the ditch or 1 mm edge-stitch), catching the inner stand fold.
Explore more tailoring tutorials and download precision PDF sewing patterns at vykroyka.com.ua!