Darts are one of the most critical structural foundations in garment construction, transforming flat yardage into a three-dimensional silhouette that elegantly contours the natural curves of the body. The precision with which darts are stitched, tapered, and pressed determines the overall fit and drape of any dress, blouse, or tailored trouser.
Article Contents:
1. The Anatomy and Structural Purpose of Fabric Darts
Garment drafting is built on geometry. The human body features curved, organic planes: the bust mound, shoulder blades, waist indentation, and hip contours. In contrast, woven fabrics are flat two-dimensional grids. To mold a flat plane around spherical body curves without creating messy wrinkles, excess fabric volume is systematically folded and stitched into darts.
Every dart comprises three primary elements:
- Intake (Dart Width): The widest measurement along the edge of the pattern piece, which dictates the amount of shaping volume removed.
- Dart Legs: The stitching lines connecting the seam edge to the apex point.
- Dart Apex (Point): The vanishing point where the dart ends. In bespoke tailoring, the dart apex should never touch the bust point directly; stopping 1.5 to 2.5 cm (0.5 to 1 inch) before the apex eliminates cone-shaped distortions.
2. Primary Dart Variations in Pattern Making
Depending on placement and silhouette intention, darts are classified into key structural categories:
Shoulder and Bust Darts
Designed to provide fullness across the chest and upper torso. Bust darts can radiate from the shoulder seam, neckline, armhole, or side seam (French dart). Through pattern manipulation, bust dart intake can also be seamlessly rotated into princess seams or soft gathers.
Waist Darts (Single-Pointed and Contour Darts)
Utilized on skirts, dresses, and trousers to cinch the garment snugly to the waistline:
- Single-pointed darts: Common on skirts and trouser waistbands, running from the waist seam downward toward the fullness of the hips.
- Double-pointed (fish-eye or contour) darts: Used on one-piece dresses and jackets without a waist seam. They possess maximum intake at the natural waist and taper out at both ends toward the bust and hip.
Approximately 1.5 cm before reaching the dart apex, reduce your machine stitch length from 2.5 mm down to 1.0–1.2 mm. Guide the final 3 to 4 stitches directly into the folded fold of the cloth, catching only 1–2 fabric yarns. This completely prevents puckering without using a bulky backstitch.
3. Stitching Technique: Tapering to a Flawless Vanishing Point
Professional dart stitching requires methodical discipline:
- Accurate Marking: Transfer dart legs with sharp tailor's chalk, tailor's tacks, or water-soluble pens on the wrong side. Mark the exact apex point with a dot.
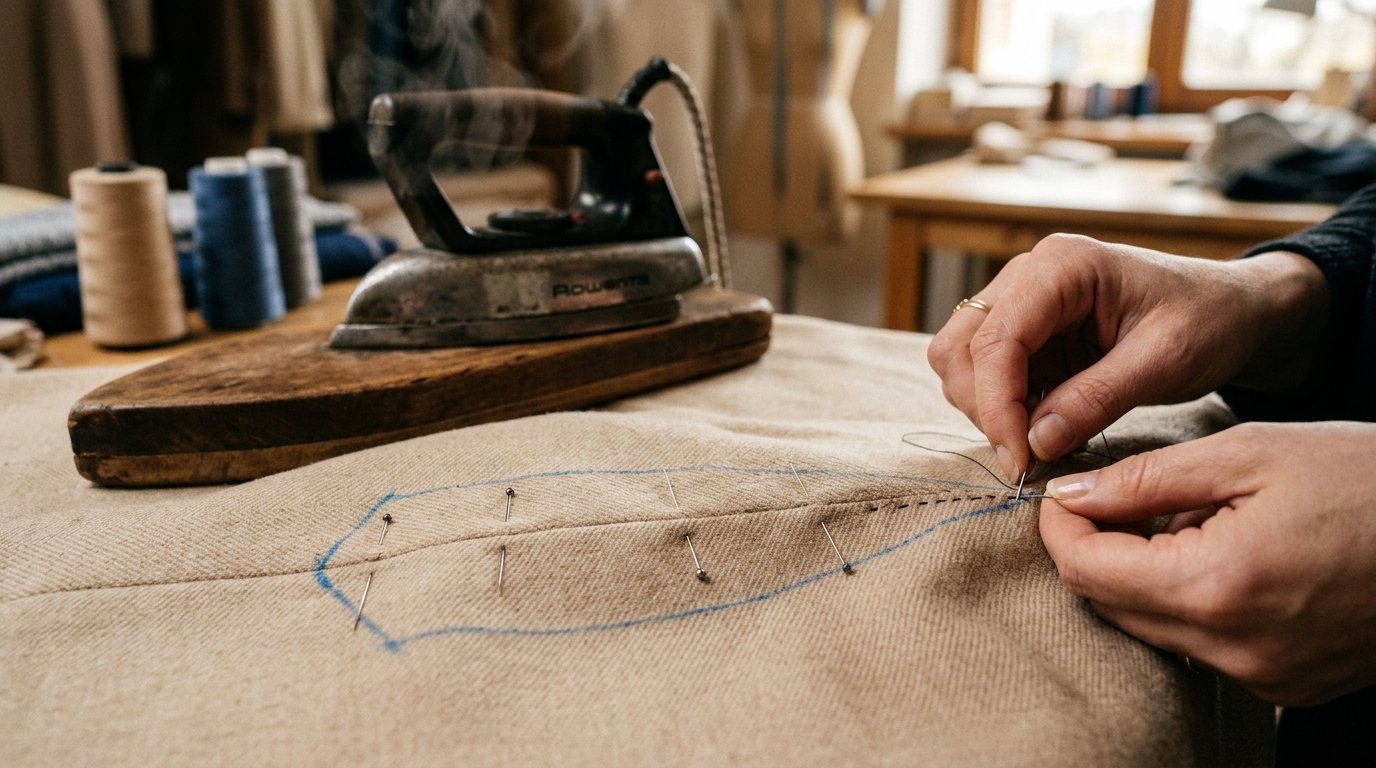
- Pinning: Fold the fabric along the centerline, matching both legs. Insert pins perpendicular to the stitching line. For silk, satin, or fine wool, baste the dart by hand 1 mm inside the seam allowance.
- Stitching Direction: Single-pointed darts must always be stitched from the wide seam edge toward the apex point. Double-pointed contour darts should be stitched from the waist center out to each point separately.
- Never Backstitch at the Apex: A backstitch produces a noticeable knot and fabric pucker at the point. Instead, stitch off the fold leaving 10–12 cm of thread tail, and hand-tie a soft square knot close to the fabric fold on the wrong side.
4. Essential Pressing and Steam Shaping Rules
Underpressing transforms good sewing into couture craftsmanship:
- 1. Press Flat First: Immediately press the stitched line flat on both sides while folded to meld the thread into the fabric fibers.
- 2. Use a Tailor's Ham: Never press a dart over a flat board! Always press the apex over the curved surface of a tailor's ham or seam roll to preserve the three-dimensional cup shape.
- 3. Directional Pressing:
- Horizontal bust darts are pressed downward toward the waist.
- Vertical waist darts are pressed inward toward the center front or center back.
- On heavy woolens and coating fabrics, slit the fold open to within 1.5 cm of the apex and press open.
Create Flawless Garments with Professional Patterns
Discover the Vykroyka digital pattern catalog, featuring precision-drafted sewing patterns with balanced dart distributions and comprehensive tailoring guides.
VIEW PATTERNS →5. Troubleshooting Common Dart Defects and Dimples
Address common construction challenges before final assembly:
- Apex Dimple / "Nipple" Effect: Caused by stitching too abruptly off the edge or machine backstitching. Unpick the last 2 cm and re-stitch smoothly into the fold, then shrink fullness using steam and a wooden tailor's clapper.
- Seam Impression on Right Side (Shine): When pressing, dart bulk often creates an unwanted ridge on the exterior. Slide strips of cardstock beneath the dart fold before pressing, and always use a lightweight pressing cloth.
- Incorrect Apex Position: If the dart apex does not align with your bust mound, unpick and rotate or shift the apex point during the first fitting, keeping it 2 cm away from the bust apex.
Follow these tailoring techniques to ensure impeccable structure and comfort across all your custom garments. Stay tuned for more professional sewing tutorials on Vykroyka!