Correctly threading a sewing machine is a fundamental skill that directly impacts stitch quality, machine longevity, and your overall sewing experience. Even seasoned sewists occasionally make minor threading errors that lead to thread breakage, skipped stitches, or bobbin jamming.
Here is a complete, step-by-step tutorial on how to properly thread both upper and lower threads on modern domestic sewing machines with drop-in horizontal or front-loading vertical bobbins.
Step 1. Threading the Upper Thread
Before threading the upper thread, always perform two essential preparatory steps:
- Raise the presser foot — this physically opens the tension discs, allowing the thread to seat properly between them.
- Raise the needle to its highest position by turning the handwheel toward you.
- Place the thread spool onto the spool pin and secure it with a spool cap to prevent wobbling during high-speed sewing.
- Guide the thread through the upper thread guide following the arrows printed on your machine.
- Draw the thread down through the right channel, loop it around the bottom tension guide, and pull it up through the left channel.
- Thread through the take-up lever eyelet from right to left (the metal lever moving up and down).
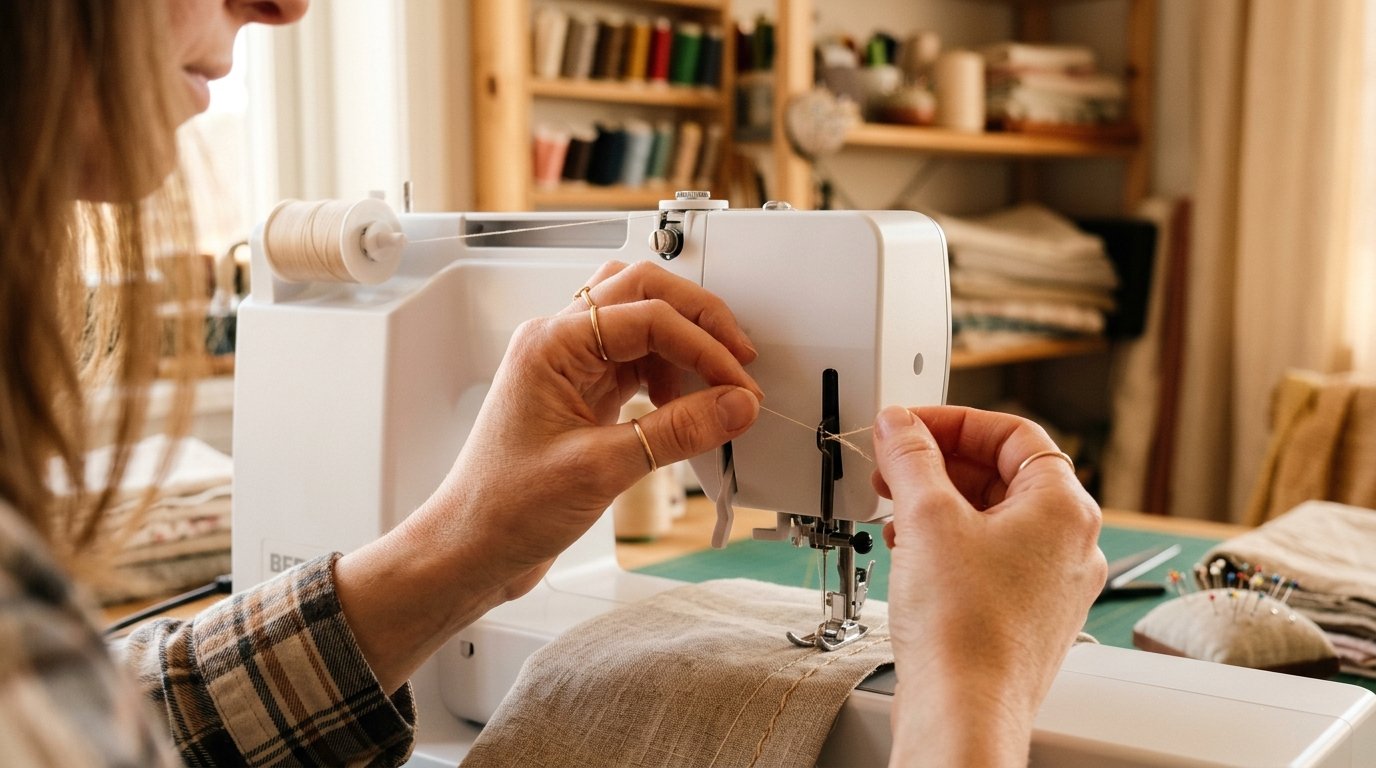
- Guide the thread down past the lower guides above the needle clamp, then thread through the needle eye from front to back. Leave a 10–15 cm thread tail.
💡 Pro Tip: Threading with the presser foot down prevents the thread from entering the tension discs, resulting in zero tension and instant thread nests beneath the fabric.
Step 2. Winding and Inserting the Bobbin
- Place an empty bobbin onto the bobbin winder spindle, manually wrap thread clockwise a few turns, and push the spindle to the right.
- Press the foot controller to wind thread smoothly and evenly. Snip the thread and push the spindle back to the left.
Inserting the Bobbin:
- Top-Loading (Horizontal) Bobbin: Drop the bobbin into the compartment with the thread unwinding counterclockwise (forming the letter 'P'). Pull the thread through the tension notch.
- Front-Loading (Vertical) Bobbin: Insert the bobbin into the metal bobbin case (thread unwinding counterclockwise), draw the thread through the slit and under the tension spring, then insert the case into the shuttle until it clicks firmly into place.
Step 3. Drawing Up the Bobbin Thread
- Hold the upper thread tail loosely in your left hand.
- With your right hand, turn the handwheel toward you one full rotation so the needle dips down and catches the lower thread.
- As the needle rises, gently pull the upper thread to bring up a loop of bobbin thread through the needle plate hole.
- Pull the loop out with scissors or a seam ripper, and place both upper and lower thread tails (10–15 cm) toward the back under the presser foot.
✅ Ready to Sew: Lower the presser foot and sew a quick test seam on fabric scraps to verify perfect stitch balance.
Stay tuned for more practical guides and PDF patterns at vykroyka.com.ua!