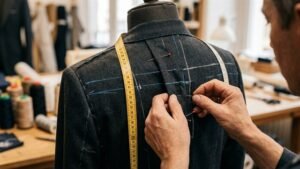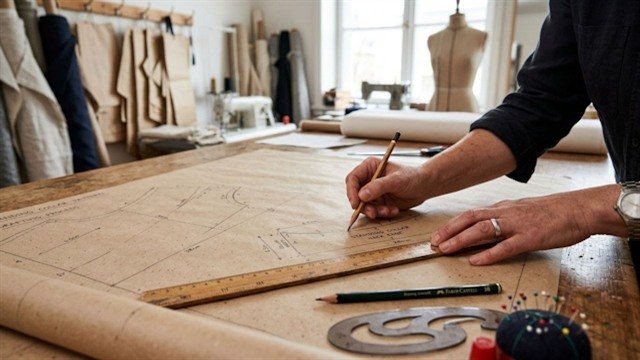
The stand-up collar is a classic element of men's shirts, business blouses and shirtdresses. It gives the product a strict, neat and finished look. However, it is this particular knot that often causes fear among novice seamstresses due to the abundance of small parts, the need for precise symmetry and neat corners.
How to properly cut, duplicate and sew in a stand-up collar without distortions or creases? Let's look at the step-by-step sewing technology.
What you will need for work:
- Cutting details: 2 collar pieces (upper and lower) and 2 stand-up pieces (outer and inner).
- High-quality adhesive material: Collar duplerin or thick interlining to strengthen the stand and upper collar.
- Tools: Tailor's pins, thin hand needles, threads to match the fabric, a peg for straightening corners and an iron with a steam generator.
Step-by-step sewing algorithm
Step 1. Duplication and preparation of parts
- Duplication: The correct collar always keeps its clear shape thanks to the adhesive material. Duplicate both parts of the stand (or at least the outer one) and the upper part of the collar flap.
- Stitching: Fold the collar pieces right sides together, pin and stitch along the side and top edges, leaving the bottom edge open. The width of the allowance is 0.7–1 cm.
- The secret to neat corners: Without reaching 1 stitch to the very corner, turn the fabric and make one cross stitch along the diagonal of the corner, then continue the stitching. Before turning, cut the seam allowance at the corner diagonally, leaving 2 mm before the stitching.
- Inversion and WTO: Turn the collar inside out, carefully straighten the corners with a peg, sweep with oblique stitches to form a 1 mm edge from the upper collar and iron with steam.
Step 2. Connecting the collar to the stand
- Place a securing stitch along the open bottom edge of the collar.
- Place the finished collar between the stand pieces (outer and inner), aligning the control notches along the center of the back and shoulder lines. The bottom cut of the collar should fit inside the stand exactly to the intended stitching line.
- Sew the stand pieces along the top and side rounded edges while sewing in the collar.
- Make cuts on the rounded corners of the stand, turn it right side out and iron it thoroughly.
Step 3. Sewing the collar into the neck of the product
- Place the outer stand piece against the neck of the garment, face to face, aligning the center back and shoulder seam marks. Sew the outer stand to the neck.
- Trim the seam allowances to 5–7 mm, make neat notches on the concave areas of the neckline.
- Fold the bottom allowance of the inner part of the stand inward by 1 cm, lay it over the seam so that the fold completely overlaps the machine stitching.
- Secure the stand with pins and place a neat finishing stitch exactly into the stitching seam (“into the groove”) on the right side, or hem the inner edge with blind hand stitches.
Professional tricks
- WTO at every stage:Iron each individual seam immediately after making it - this guarantees the perfect factory geometry of the collar.
- High-quality double fabric: A soft stand that loses its shape can ruin the appearance of even the most expensive shirt fabric.
Follow new useful materials in the SHITTYA TA KRIY category on our portal vykroyka.com.ua!