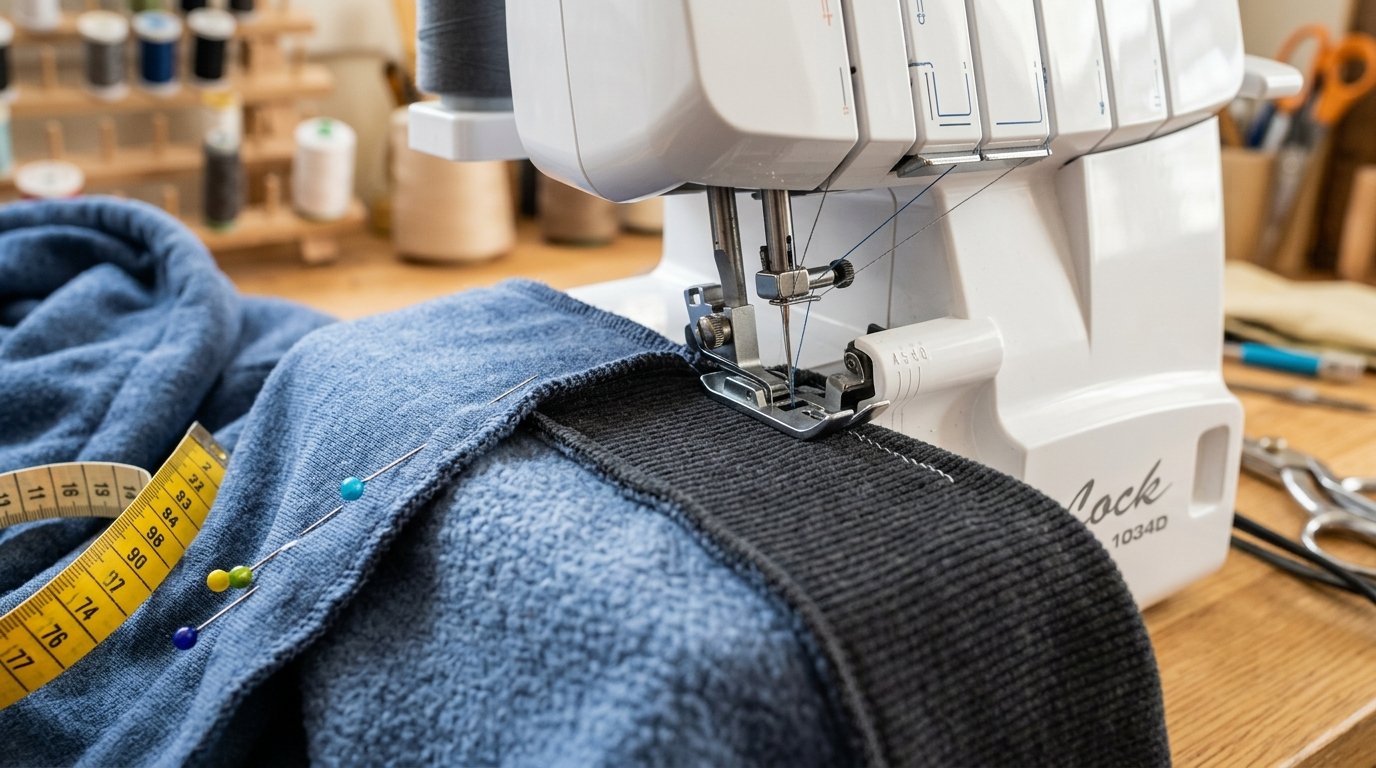
Sewing stretchy ribbed knit cuffs onto the sleeves of hoodies, sweatshirts, or the ankles of jogger pants is a fundamental technique in modern knitwear tailoring. Calculating the correct stretch ratio and distributing fullness evenly ensures a crisp, store-bought finish without puckering, wavy seams, or stretched cuffs.
Here is the complete step-by-step masterclass on how to calculate cuff length for ribbing (ribana or kashkorse), assemble the cuff ring, and serge it cleanly to sleeves or pant legs.
Materials and Tools
- Garment piece: assembled sleeves of a hoodie/sweatshirt or hem of sweatpants (french terry or fleece).
- Ribbed knit fabric: rib knit (ribana) or elastane-blend tubular ribbing (kashkorse).
- 4-thread serger/overlocker (or sewing machine equipped with a stretch stitch).
- Sewing pins, tape measure, sharp fabric shears, and a steam iron.
Step-by-Step Ribbed Cuff Construction
Step 1. Calculating Cuff Length and Cutting
Decide the finished cuff height (typically 5–7 cm folded, which equals a 12–16 cm cutting width including seam allowances).
Measure the wrist or sleeve hem circumference. To calculate the cuff length for ribbed knits with 50–70% stretch recovery, use the professional coefficient formula:
Cuff Length = Sleeve Hem Circumference × 0.75 to 0.8 + Seam Allowance (1.5 cm). This 75–80% ratio ensures a snug yet comfortable elastic fit around wrists or ankles without pinching.Step 2. Assembling and Pressing the Cuff Loop
- Fold the cut cuff rectangle right sides together with the knit ribs running parallel to the seam, and serge the short ends into a continuous loop.
- Offset the serged seam allowances in opposite directions to prevent bulky seams.
- Fold the cuff loop in half lengthwise, wrong sides together, matching raw edges. Steam-press the fold lightly without stretching the rib knit.
Step 3. Quartering and Pinning the Cuff
- Divide the folded cuff into four equal segments: start at the seamline, place a pin opposite it (center), then bring these two points together to mark the quarter points.
- Quarter the lower sleeve or pant leg opening in the exact same manner using pins.
- Insert the cuff inside the sleeve, right sides together, aligning raw edges and matching all four quarter pins. Align the cuff seam with the sleeve inseam.
Step 4. Serging and Final Pressing
- Position the sleeve opening under the serger presser foot with the rib cuff on top.
- Serge around the opening, gently stretching only the ribbed cuff between quarter pins to match the sleeve opening. Keep the main sleeve fabric relaxed without stretching.
- Overlap the serger stitching by 1.5–2 cm, cut thread tails, and thread the tail back through the serger seam using a tapestry needle.
- Turn the sleeve right side out and press seam allowances up toward the sleeve. A shot of steam will shrink the knit fibers back into crisp, resilient shape.
Discover more knitwear sewing tutorials and download precision PDF patterns for hoodies and joggers at vykroyka.com.ua!