Silk, chiffon, satin, and fine rayon are among the most luxurious and fluid textiles in fashion. Yet for many sewists, constructing garments from these delicate weaves can be daunting: the fabric slips off the cutting table, shifts relentlessly beneath the presser foot, and seams often pucker or pull. Here is our comprehensive guide to mastering delicate slippery fabrics on a standard home sewing machine.
Article Contents:
1. Distortion-Free Cutting: Stabilizing Slippery Weaves
Fine silk and chiffon feature highly fluid yarn structures where warp and weft easily skew under slight tension. If grain distortion occurs during drafting or cutting, the finished garment will hang unevenly and twist on the body.
Implement three essential cutting safeguards:
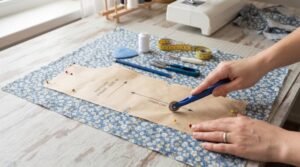
- Non-Slip Cutting Surface: Never cut fine silks on polished timber or laminate tables. Cover your workspace with a natural cotton bedsheet, linen drop cloth, or use a self-healing cutting mat with a textured matte finish. The fabric fibers will gently grip the surface without shifting.
- Pattern Weights Over Pins: Avoid standard tailor pins across the body of the pattern piece; they lift the fabric, create micro-waves, and risk puncturing fine filaments. Secure pattern pieces with dense pattern weights. If pinning is necessary, place ultra-fine silk pins exclusively within the seam allowances.
- Rotary Cutting: Use a rotary cutter with a fresh 28 mm or 45 mm blade. A rotary wheel exerts downward pressure, cleanly shearing through the cloth without lifting edges from the board as shears tend to do.
2. Notion Selection: Microtex Needles and Fine Filament Threads
Universal needles feature a slightly rounded ballpoint tip designed for medium-weight wovens, which forcibly parts delicate silk yarns and produces unsightly fabric pulls and holes.
- Microtex Needles: Always install needles marked Microtex or Sharp in sizes 60/8 (for sheer chiffon, georgette, and organza) or 70/10 (for silk charmeuse, crepe de chine, and habotai). Microtex needles feature an acute, ultra-slim point that pierces high-density microfibers effortlessly.
- Fine Thread: Bulky standard 40-weight threads will overwhelm delicate seams, resulting in puckering. Opt for high-grade 100-weight or 120-weight fine polyester thread, or fine silk filament threads (such as Gütermann Sew-All Extra Fine or Madeira Aerofil).
When lightweight silk or chiffon is too slippery to handle, apply the time-honored couture sizing technique: soak the fabric in a mild, warm unflavored gelatin bath (1 tablespoon gelatin dissolved in 2 liters warm water), towel-blot, and line dry flat. The fabric dries crisp like tissue paper, enabling effortless, slip-free cutting and stitching. Once the garment is fully constructed, a gentle rinse in cool water instantly dissolves the sizing, restoring the silk’s ethereal drape and softness.
3. Preventing Layer Shifts and Throat-Plate Snagging
A frequent frustration occurs at the seam origin, where the needle drives the fabric corner down into the throat plate hole, jamming the bobbin race. Additionally, feed dogs naturally pull the lower layer faster than the upper ply.
Solve these mechanical challenges with three adjustments:
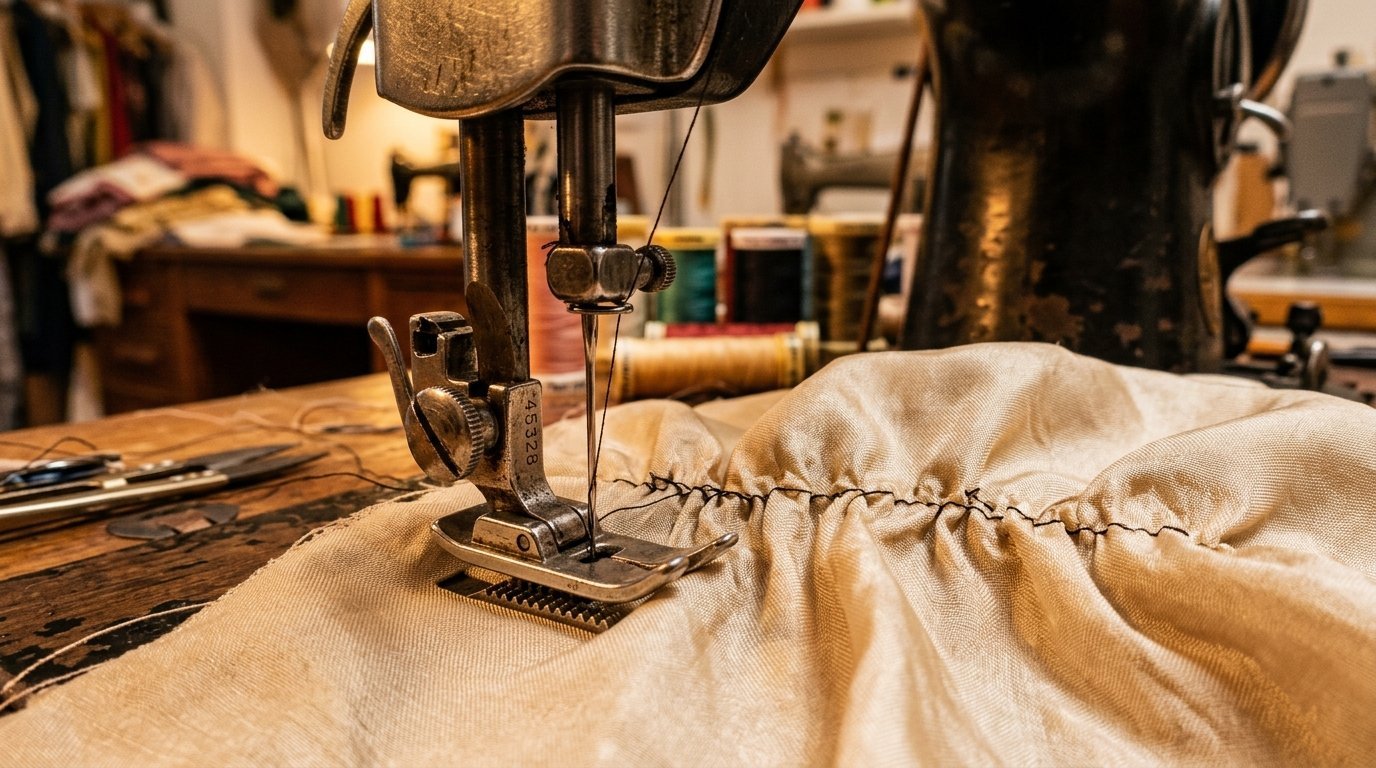
- Straight-Stitch Needle Plate: Swap your wide zig-zag throat plate for a single-hole straight-stitch plate. The tiny circular aperture provides full underside support, preventing sheer cloth from being forced down.
- Walking Foot (Even Feed Foot): When sewing two slippery plies of satin or chiffon, attach an even feed walking foot. Its secondary upper feed teeth advance the top ply at the exact speed of the feed dogs.
- Tissue Paper Bridge: Begin each seam with a small scrap of tissue paper, tracing paper, or wash-away stabilizer beneath the fabric leading edge. The paper stabilizes the needle entry, and easily tears away along the seam perforations once stitched.
4. Calibrating Thread Tension and Presser Foot Pressure
Tension imbalances are the primary culprit behind seam puckering on delicate silks. Adjust machine parameters systematically:
- Stitch Length: Set your stitch length between 2.0 mm and 2.5 mm. Extremely short stitches (under 1.8 mm) perforate fine weaves like postage stamps and weaken seam integrity, while excessively long stitches cause seam gap.
- Loosen Upper Tension: Delicate weaves require a relaxed tension balance. Reduce needle thread tension slightly (by 0.5–1 unit on your dial) so threads interlock gently without constricting the weave.
- Lighter Presser Foot Pressure: Decrease presser foot pressure if your machine allows. Excessive pressure drags on slippery surfaces and imprints feed dog marks onto delicate satin faces.
Create Refined Fashion with Precision Patterns
Explore the Vykroyka pattern collection featuring elegant blouses, slip dresses, and flowing skirts tailored specifically for lightweight, high-end silk fabrics.
VIEW PATTERNS →5. Couture Finishes: French Seams and Narrow Baby Hems
Standard serged or overlocked seam allowances look heavy and visibly show through semi-sheer fabrics. Haute couture bespoke finishing relies on clean self-enclosing seams:
- French Seam: The gold standard for sheer chiffon and silk georgette. Align pattern pieces wrong sides together and stitch at 3–4 mm from the cut edge. Trim seam allowance closely to 2 mm, press flat, fold fabric right sides together, and stitch a second pass at 5 mm from the fold. The raw edge is completely encased inside a pristine 5 mm seam roll.
- Narrow Rolled Baby Hem: Essential for flared skirts, sheer ruffles, and silk scarves. Press raw hem edge under by 3–4 mm and stitch 1 mm from the fold. Closely trim the excess turn-up with embroidery applique scissors down to 1 mm. Turn the hem a second time and stitch precisely over the first stitch line. This delivers an exquisite, featherweight 1.5–2 mm edge finish.
Mastering these foundational techniques empowers you to sew delicate, fluid fabrics with confidence and couture-level precision. Explore more tailoring insights and curated patterns on Vykroyka!